Now LED display screens are increasingly visible in our lives, adding a bright style to people’s lives, but we not only see the style, but also see the failures caused by LED display screens at critical moments, which is also the most troublesome thing for users, so how can we solve it? First of all, we need to find out what kind of failures often occur in LED display screens? Such as LED brightness, black screen, flashing and so on. So how will we repair the LED display screen, what should we pay attention to during maintenance? And what are the basic steps of maintenance?
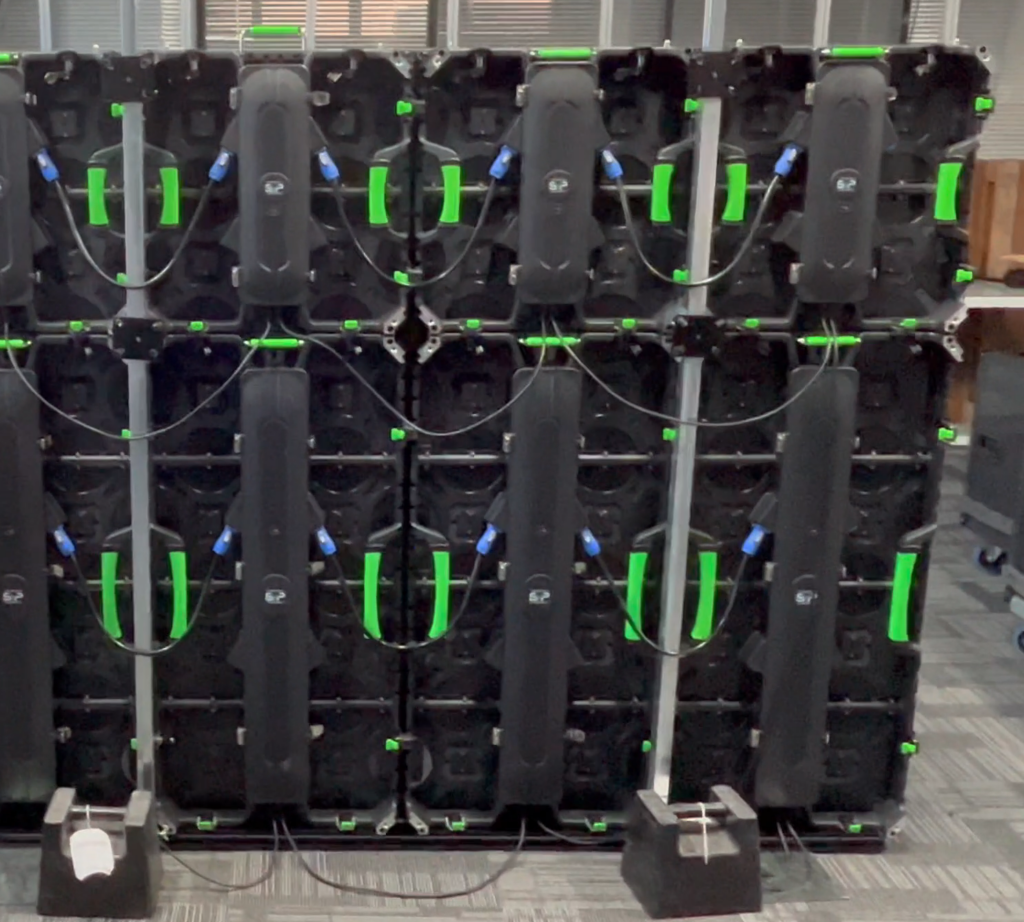
LED display screens are spliced by multiple LED modules, and an LED module contains countless LED lamp beads. For any item, once the quantity becomes huge, it is inevitable that there will always be one in a thousand or one in ten thousand faults that need to be handled. Here I will explain to you some repair methods for some minor faults of LED display screens. Collect them and you may use them someday!
LED display screen repair: Fault analysis of LED display screen problems
For beginners, the most direct and effective method of fault analysis is elimination method. Here we need to know a basic point first. In addition to the lamp beads in the LED module, the LED display screen also needs to rely on three other hardware, namely: control card, unit board, and switch power supply.
First: determine whether the control card is good. First, turn on the power and see if the control card indicator light is on. If not, check whether there is 5V power supply and whether the display can display content. If it can display content, it means that the control card has good content display function; then use the control card software to find the control card. If it can be found, it means that the function of the control card to send content is normal. If it cannot be found, first check whether the communication line is connected properly. If it is connected properly, there may be a problem with the card.
(Summary: If the indicator light of the control card is on normally, the control card software can find the control card, and there is no problem with the line connection, then the control card is good, otherwise the control card needs to be replaced.)
Secondly: check whether the power supply is normal. If the power supply is broken, it will directly cause several boards in the link to not light up or be abnormal or flicker abnormally. Under normal circumstances, one power supply can control 4-8 boards. If these adjacent 4-8 boards are abnormal, then it should be considered that the power supply may be abnormal. If the power supply is abnormal, you can use the DC voltage range of the multimeter to measure whether the output voltage is between 4.9 and 5.5V. If it is, you need to replace the power supply.
(Summary: When there are problems with several adjacent boards, it is best to check whether the power supply is abnormal.)
Finally: We need to determine whether the unit board is good or not. The display signal is transmitted from the output pin of one unit board to the input signal of another board. Therefore, if there is a problem with one board, it will cause the entire row behind it to be dark or abnormal. Therefore, when there is a problem with a row of displays, we should replace the board that is abnormal at the beginning of this row, or use a long cable to jump over this board, and then see if the board behind it is normal.
(Summary: When checking the screen of the horizontal or vertical row, if the entire row is abnormal or the signal input is abnormal at a certain position, then there may be a problem with the unit board.)
LED display repair LED unit board fault analysis
A. Output problem
- Check whether the line from the output interface to the signal output IC is connected or short-circuited.
- Check whether the cascade output data port between the final driver IC is connected to the data port of the output interface or short-circuited.
- Check whether the clock latch signal of the output port is normal.
- Are there any output signals short-circuited to each other or short-circuited to the ground.
- Check whether the output wiring is good.
B. The whole board is not lit
- Check whether the power supply and signal line are connected.
- Check whether there is a short circuit in the 74HC245, and whether the corresponding enable (EN) signal input and output pins on the 245 are cold-soldered or short-circuited to other lines.
- Check whether the test card can identify the interface. If the red light of the test card flashes, it is not recognized. Check whether the light board and the test card have the same power ground, or the light board interface has a signal short circuit to the ground, which makes the interface unrecognizable. (Smart Test Card)
Note: Mainly check the power supply and enable (EN) signals.
C. One or several lines are not lit when all are lit
Check whether the lines between 138 and 4953 are broken or poorly soldered or short-circuited.
D. During the point-slant scanning, the regular interlaced lines are not lit and the display screen overlaps
- Check whether there are broken lines, poorly soldered or short-circuited between the A, B, C, D signal input ports and 245.
- Check whether the A, B, C, D output terminals corresponding to 245 and 138 are broken or poorly soldered or short-circuited.
- Check whether the A, B, C, D signals are short-circuited or a signal is short-circuited to the ground.
Note: Mainly check the ABCD line signals.
E. The display is chaotic, but the signal output to the next board is normal
Check whether the STB latch output terminal corresponding to 245 is connected to the latch terminal of the driver IC or the signal is short-circuited to other lines.